Category Archives: gallery

Naturally Healthy, Vegan Banana Bread Recipe

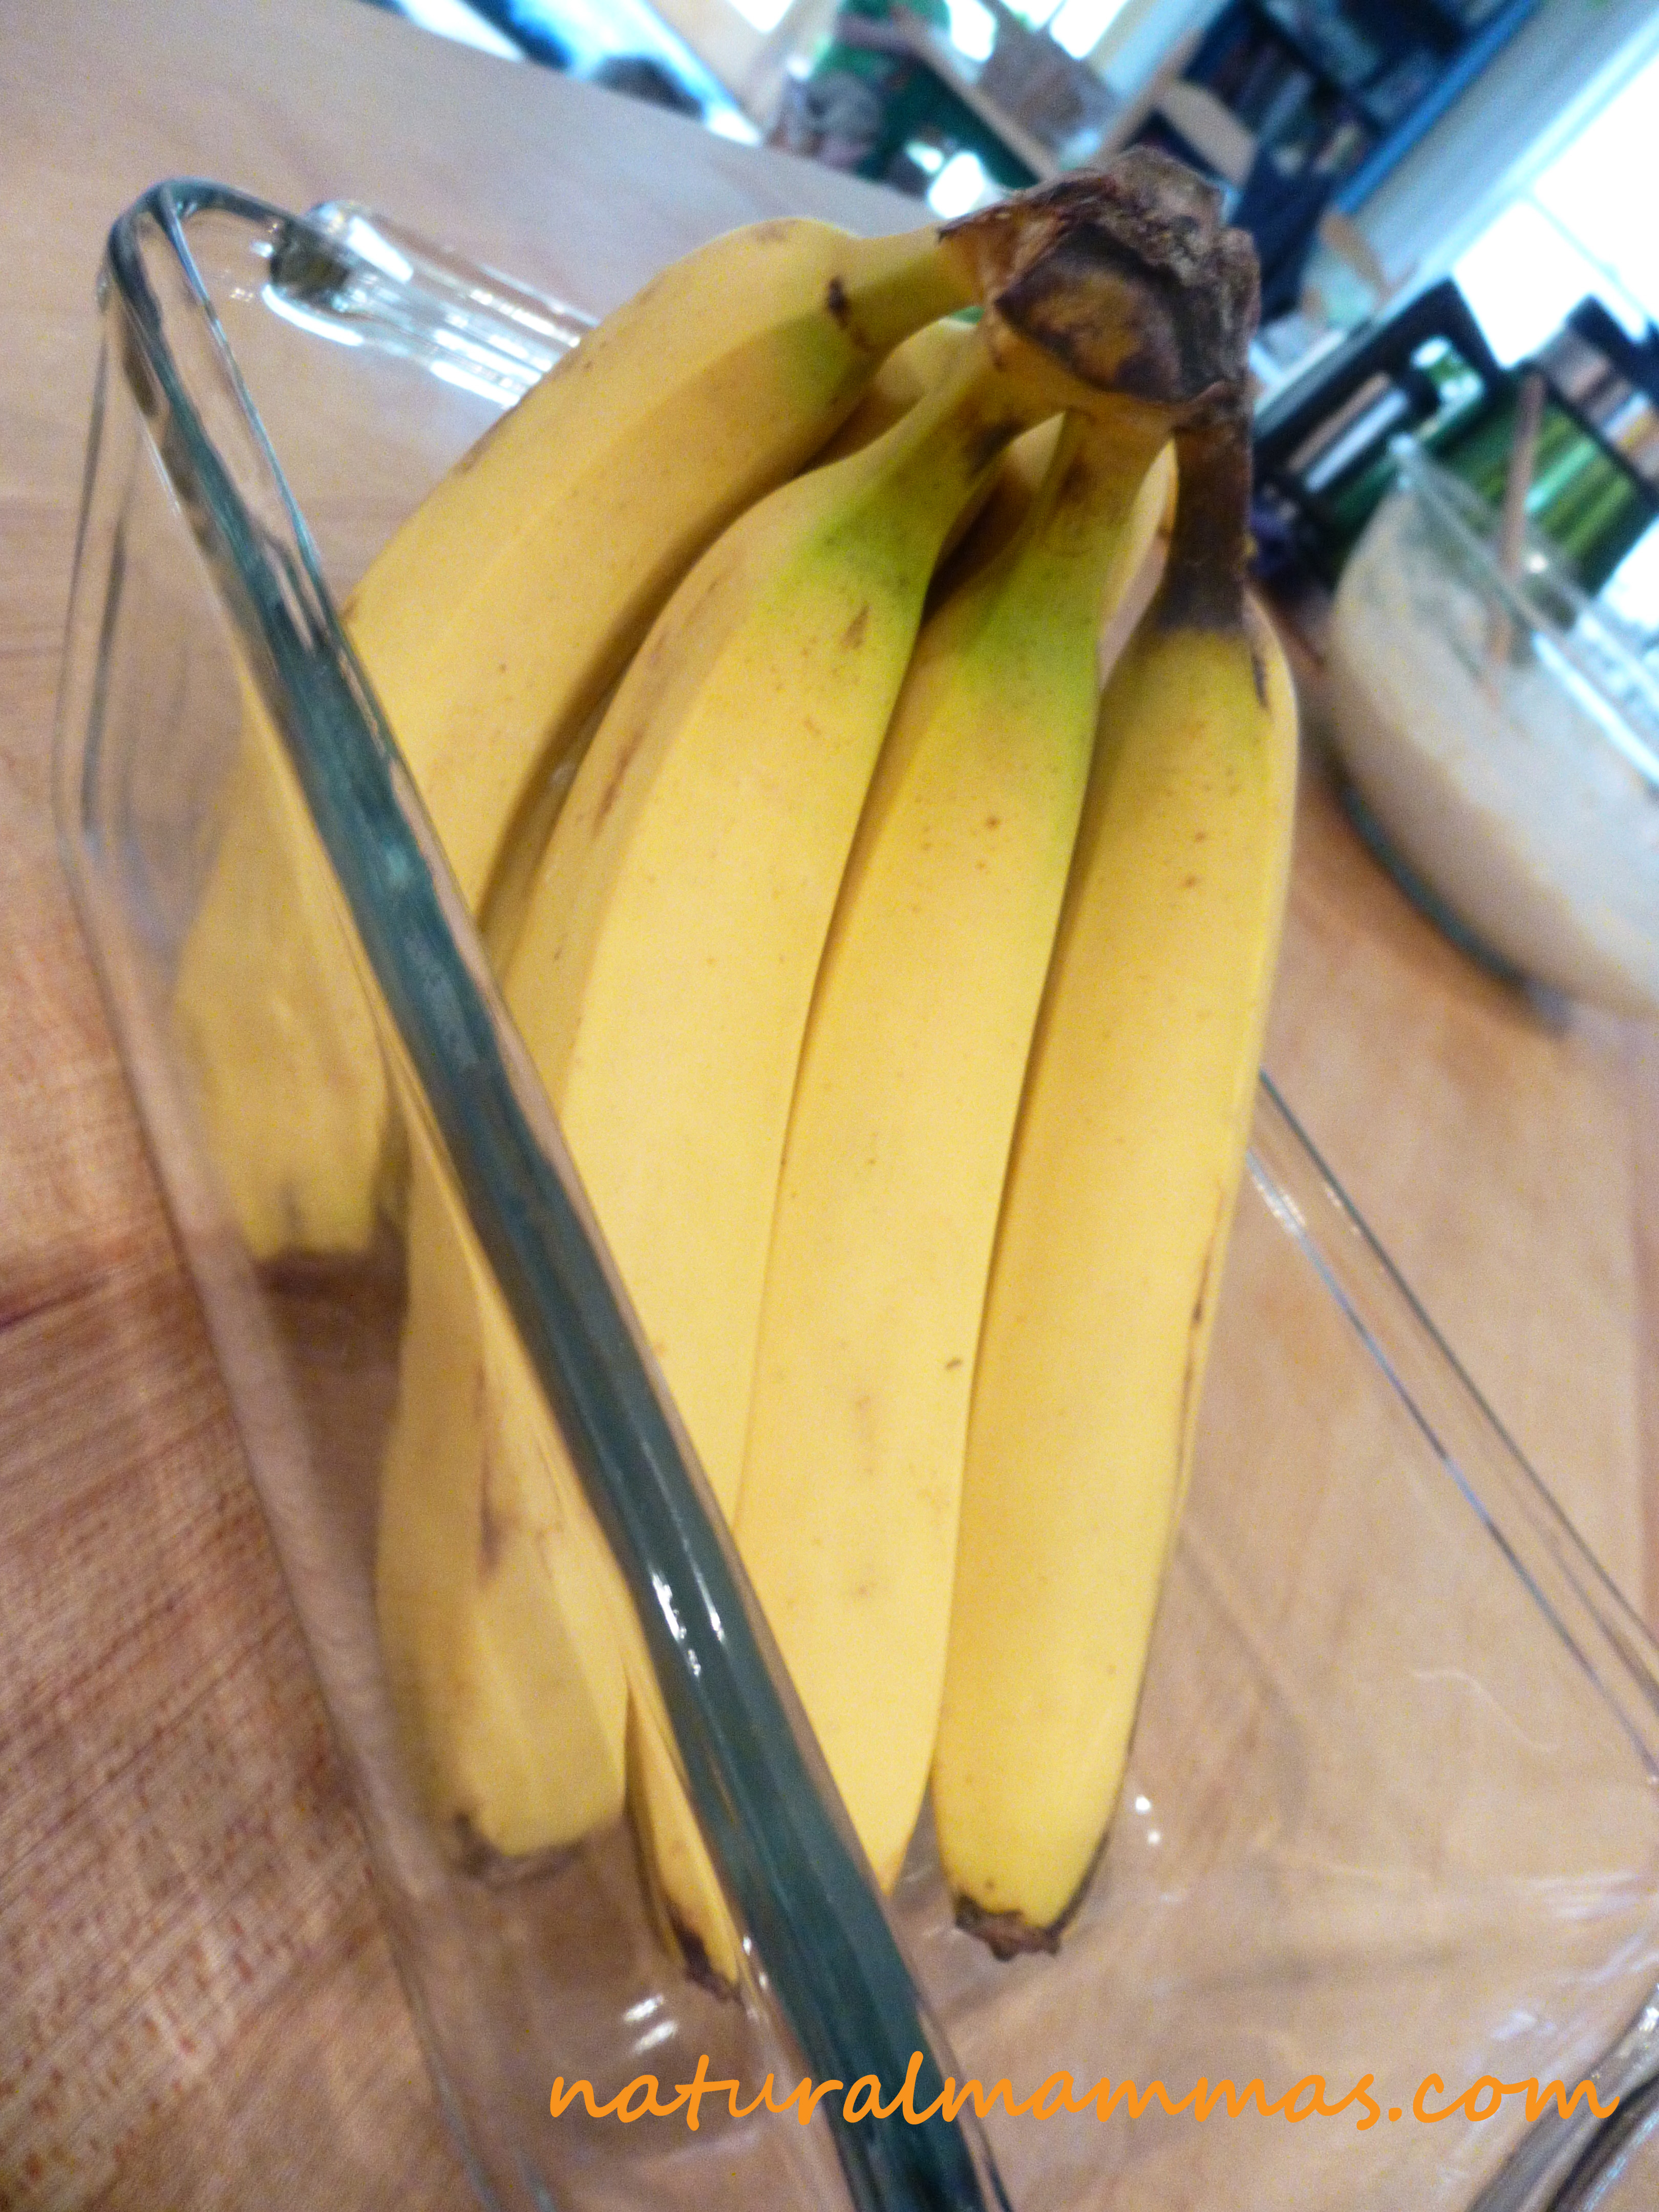
Banana bread.  It’s such a yummy way to use up old bananas; which are actually some of the best bananas nutritionally.  However, brown bananas aren’t always that appetizing.  Enter, banana bread.  Of course, you can use ripe bananas too (like in the photo), but the closer to rotten the bananas are, the sweeter and more flavorful they are, and, as we said, the more nutritionally optimal.

Now, we’ll readily admit that there are a lot of banana bread recipes out there many of which are very tasty.  But, some rely on a lot of refined sugars and are heavy on the fat.  This one we’re going to share here though has some amazing extras that helps it stand out while staying healthy.  Plus, it’s all  natural and totally vegan!

Don’t let those brown, nutrition filled bananas go to waste – use them in this natural banana bread recipe that’s super healthy, vegan; and that the whole family will enjoy.


vegan banana bread loaf on white plateorganic bananas in glass bread baking dishvegan banana bread recipe mix


Naturally Healthy, Vegan Banana Bread Recipe
Prep time: 
Cook time: 
Total time: 
 
Ingredients
  • 3 ripe bananas (1 c)
  • ⅓ C applesauce (or oil)
  • ¼ C lemon juice
  • ½ C maple (or sugar)
  • 1½ C flour
  • ½ C wheat germ
  • ½ t salt
  • ½ t baking powder
  • ½ t baking soda
  • 1 C chopped dates
  • 1 C chopped walnuts (optional)
Instructions
  1. Preheat oven to 350
  2. Mash bananas and mix with lemon juice, and applesauce (or oil).
  3. Add to sugar and mix well.
  4. Combine flour, wheat germ, salt, baking powder, and baking soda.
  5. Add to banana mixture and stir until combined.
  6. Add dates and nuts.
  7. Spoon mixture into greased loaf pan (4x8) and bake for 45-50 min.
  8. If you'd like to make muffins bake for about 25-30 min


Build a Lego Christmas Tree Decoration | Photos and Instructions Included!

Boys, girls, young, old, most everyone can enjoy the plastic building blocks that are Lego.  While it might be a bit unnatural to speak so highly of plastic toys, they’ve become so well loved in our little natural family, it would be almost criminal of me to look at them that way at this point!  So, instead we just enjoy them for what they are – an exploration in creativity, engineering skills, math, following instructions – and plain old FUN!!!

Generally you can find the three boys, their dad, and I building projects like cars, “bases”, ships, and things like this.  This Christmas though, we all decided we’d make a Lego Christmas Tree decoration.

It’s easy enough, but, it did take a bit of planning and a lot of digging for just the right pieces.  In the end – we all thought our Lego Christmas Tree turned out pretty cool –  if I might share my totally biased opinion!  So cool in fact, I thought some other natural kids and their families out there might like to know how we did it.


Lego Christmas Tree Decoration Building Instructions

Basically, you just need a configuration of green that works within the pieces you have.  What’s shown on the list of bricks shown below is what we used to make our tree so you can get an idea of what you need to find.  From here, get creative and make it your own custom Lego Christmas Tree decoration!

Pieces List

Here’s a list of bricks needed to build your own Lego Christmas Tree decoration with (or for!) the natural kids in your life.
The Base
  • 2 x 8 stud bricks in red
  • 1 x 10 stud brick in red

The Trunk

  • 4 x 4 stud bricks in brown (or one brick that stands that high if you have it)

The Tree

  • 2 x 16 stud flat bricks in dark green
  • 6 x 12 stud flat bricks in dark green
  • 3 x 8 stud flat bricks in dark green
  • 2 x 4 stud flat bricks in dark green
  • 5 x 8 stud bricks light green
  • 1 x 6 stud brick light green
  • 8 x 4 stud brick light green
  • 3 x 2 stud brick light green
  • 4 x yellow cones
  • miscellaneous studs and cones to make lights/ornaments

What to Do

First, assemble your base.
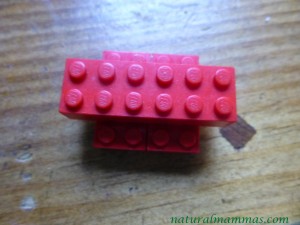
lego christmas tree instructions step one - the base

Next build your trunk and place it in the center of the base.
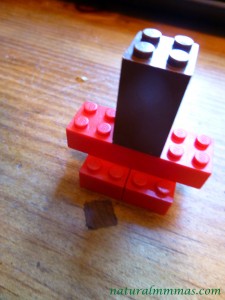
lego christmas tree instructions step two the trunk

Now, Place your two 16 stud flat dark green pieces end to end, with each brick having two studs a piece on the trunk to anchor it.  Be careful, it’s not strong at first, but, it’ll get there!  As you can see we started adding our ornaments and lights as well – but only on the last 4 studs on either end of the dark green flat pieces.
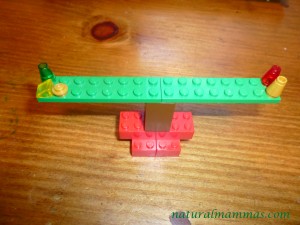
lego christmas tree instructions step three the first branch

Next, take two 4 stud bricks, one 8 stud brick, one 6 stud brick and, one 2 stud brick all in light green place them on top of the dark green bottom you just made leaving four studs open on either side of each 12 stud brick for the ornaments and lights.
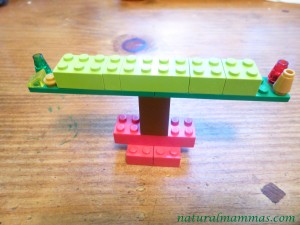
lego christmas tree instructions step four another branch

Take two of your flat 12 stud dark green bricks, along with one 4 stud dark green brick and lay on top of the light green bricks you just put down.  Each 12 stud brick will over hang the light green layer by two studs.  The 4 stud dark green flat brick will then go in the middle.
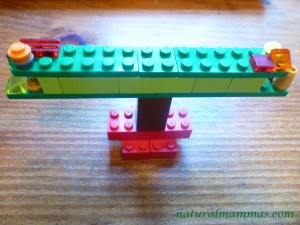
lego christmas tree instrucitons step five more branches

From here, continue like this in rows of dark green flat bricks and light green bricks always leaving 4 studs on each side of the dark green pieces when applying the light green bricks, while overhanging the light green with the dark green bricks by 2 studs on either side. This will help make your reduce your evenly until you get to the four flat dark green brick for the top.
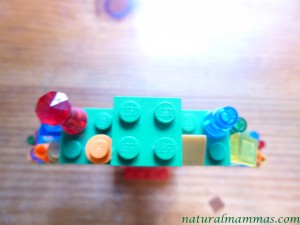
lego christmas tree instructions step six the top

Now add the four yellow cones for the star (or other idea for a star!) and the ornaments if you haven’t already.
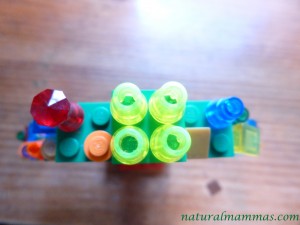
lego christmas tree instructions step 7

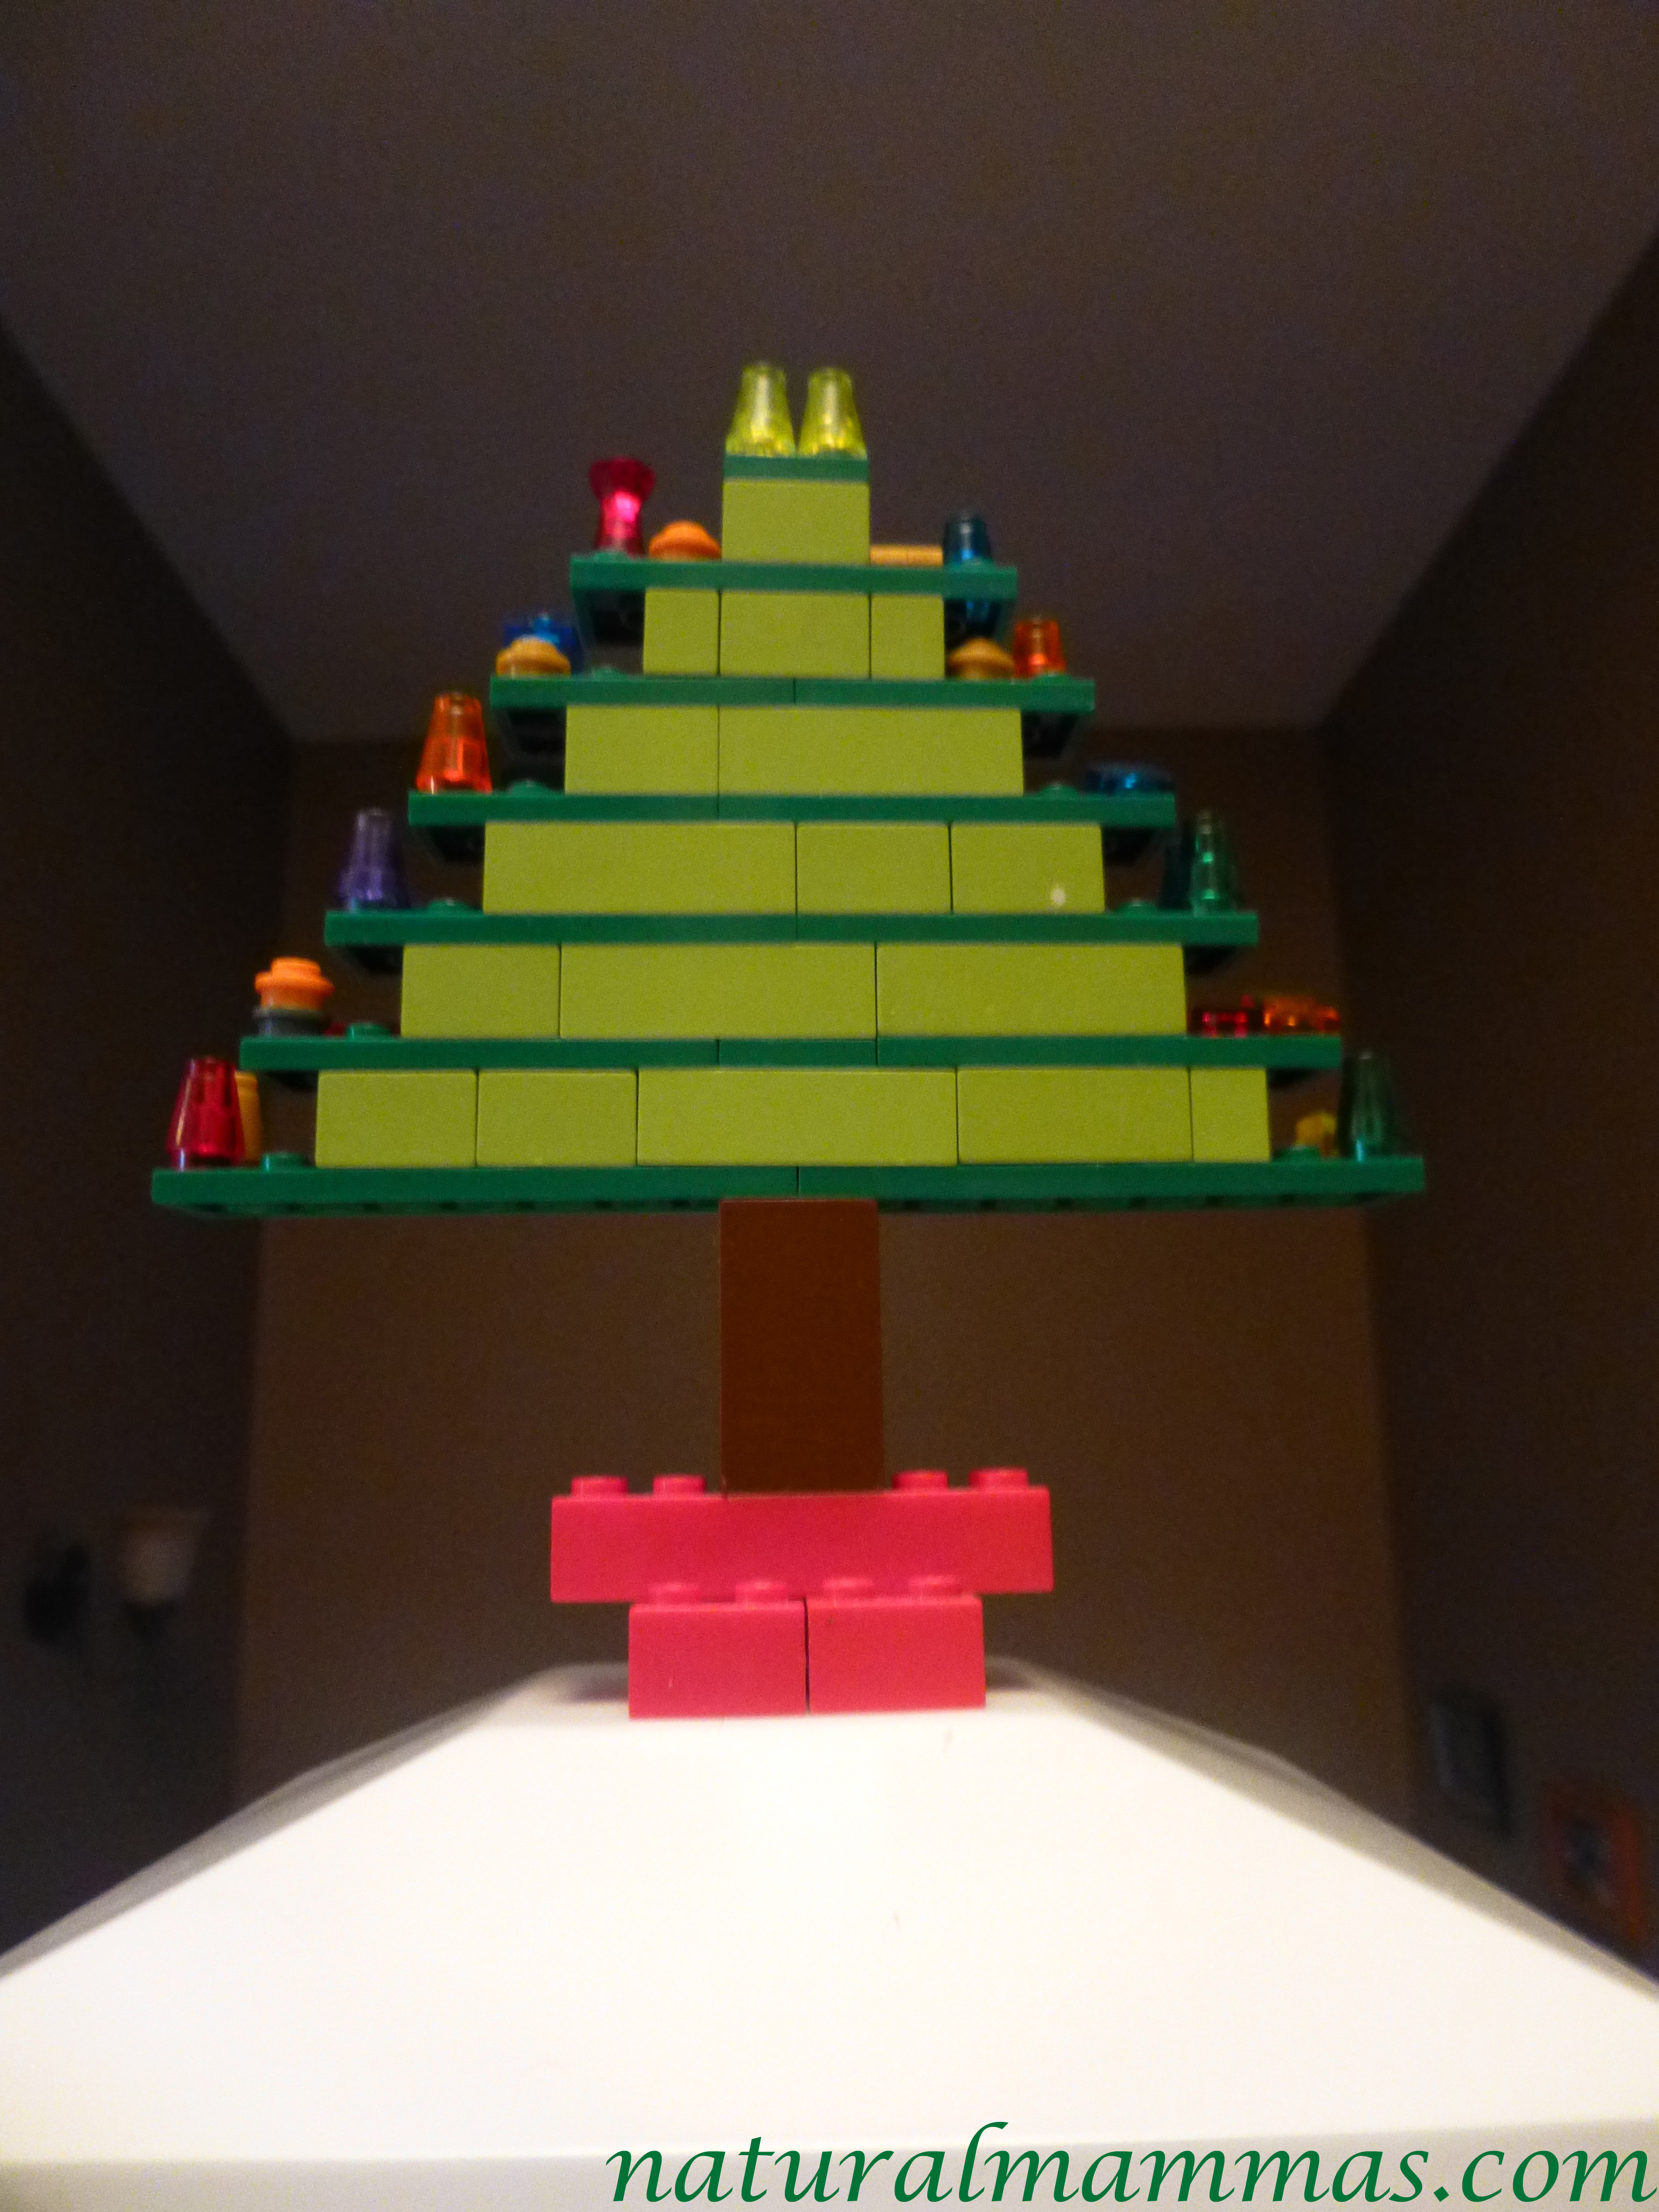
 You’ve now got a lovely Lego Christmas Tree decoration to add to all your others, or, this can make a very fun gift.  Just write out the instructions and brick list and give as a homemade kit.    And, don’t forget to put your own spin on the tree.  You can make these smaller, larger, and anywhere in between and as always, with Legos, the best designs are the ones you make yourself!
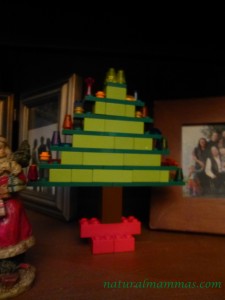
lego christmas tree decoration on shelf

How to Clean Your Dishwasher Naturally

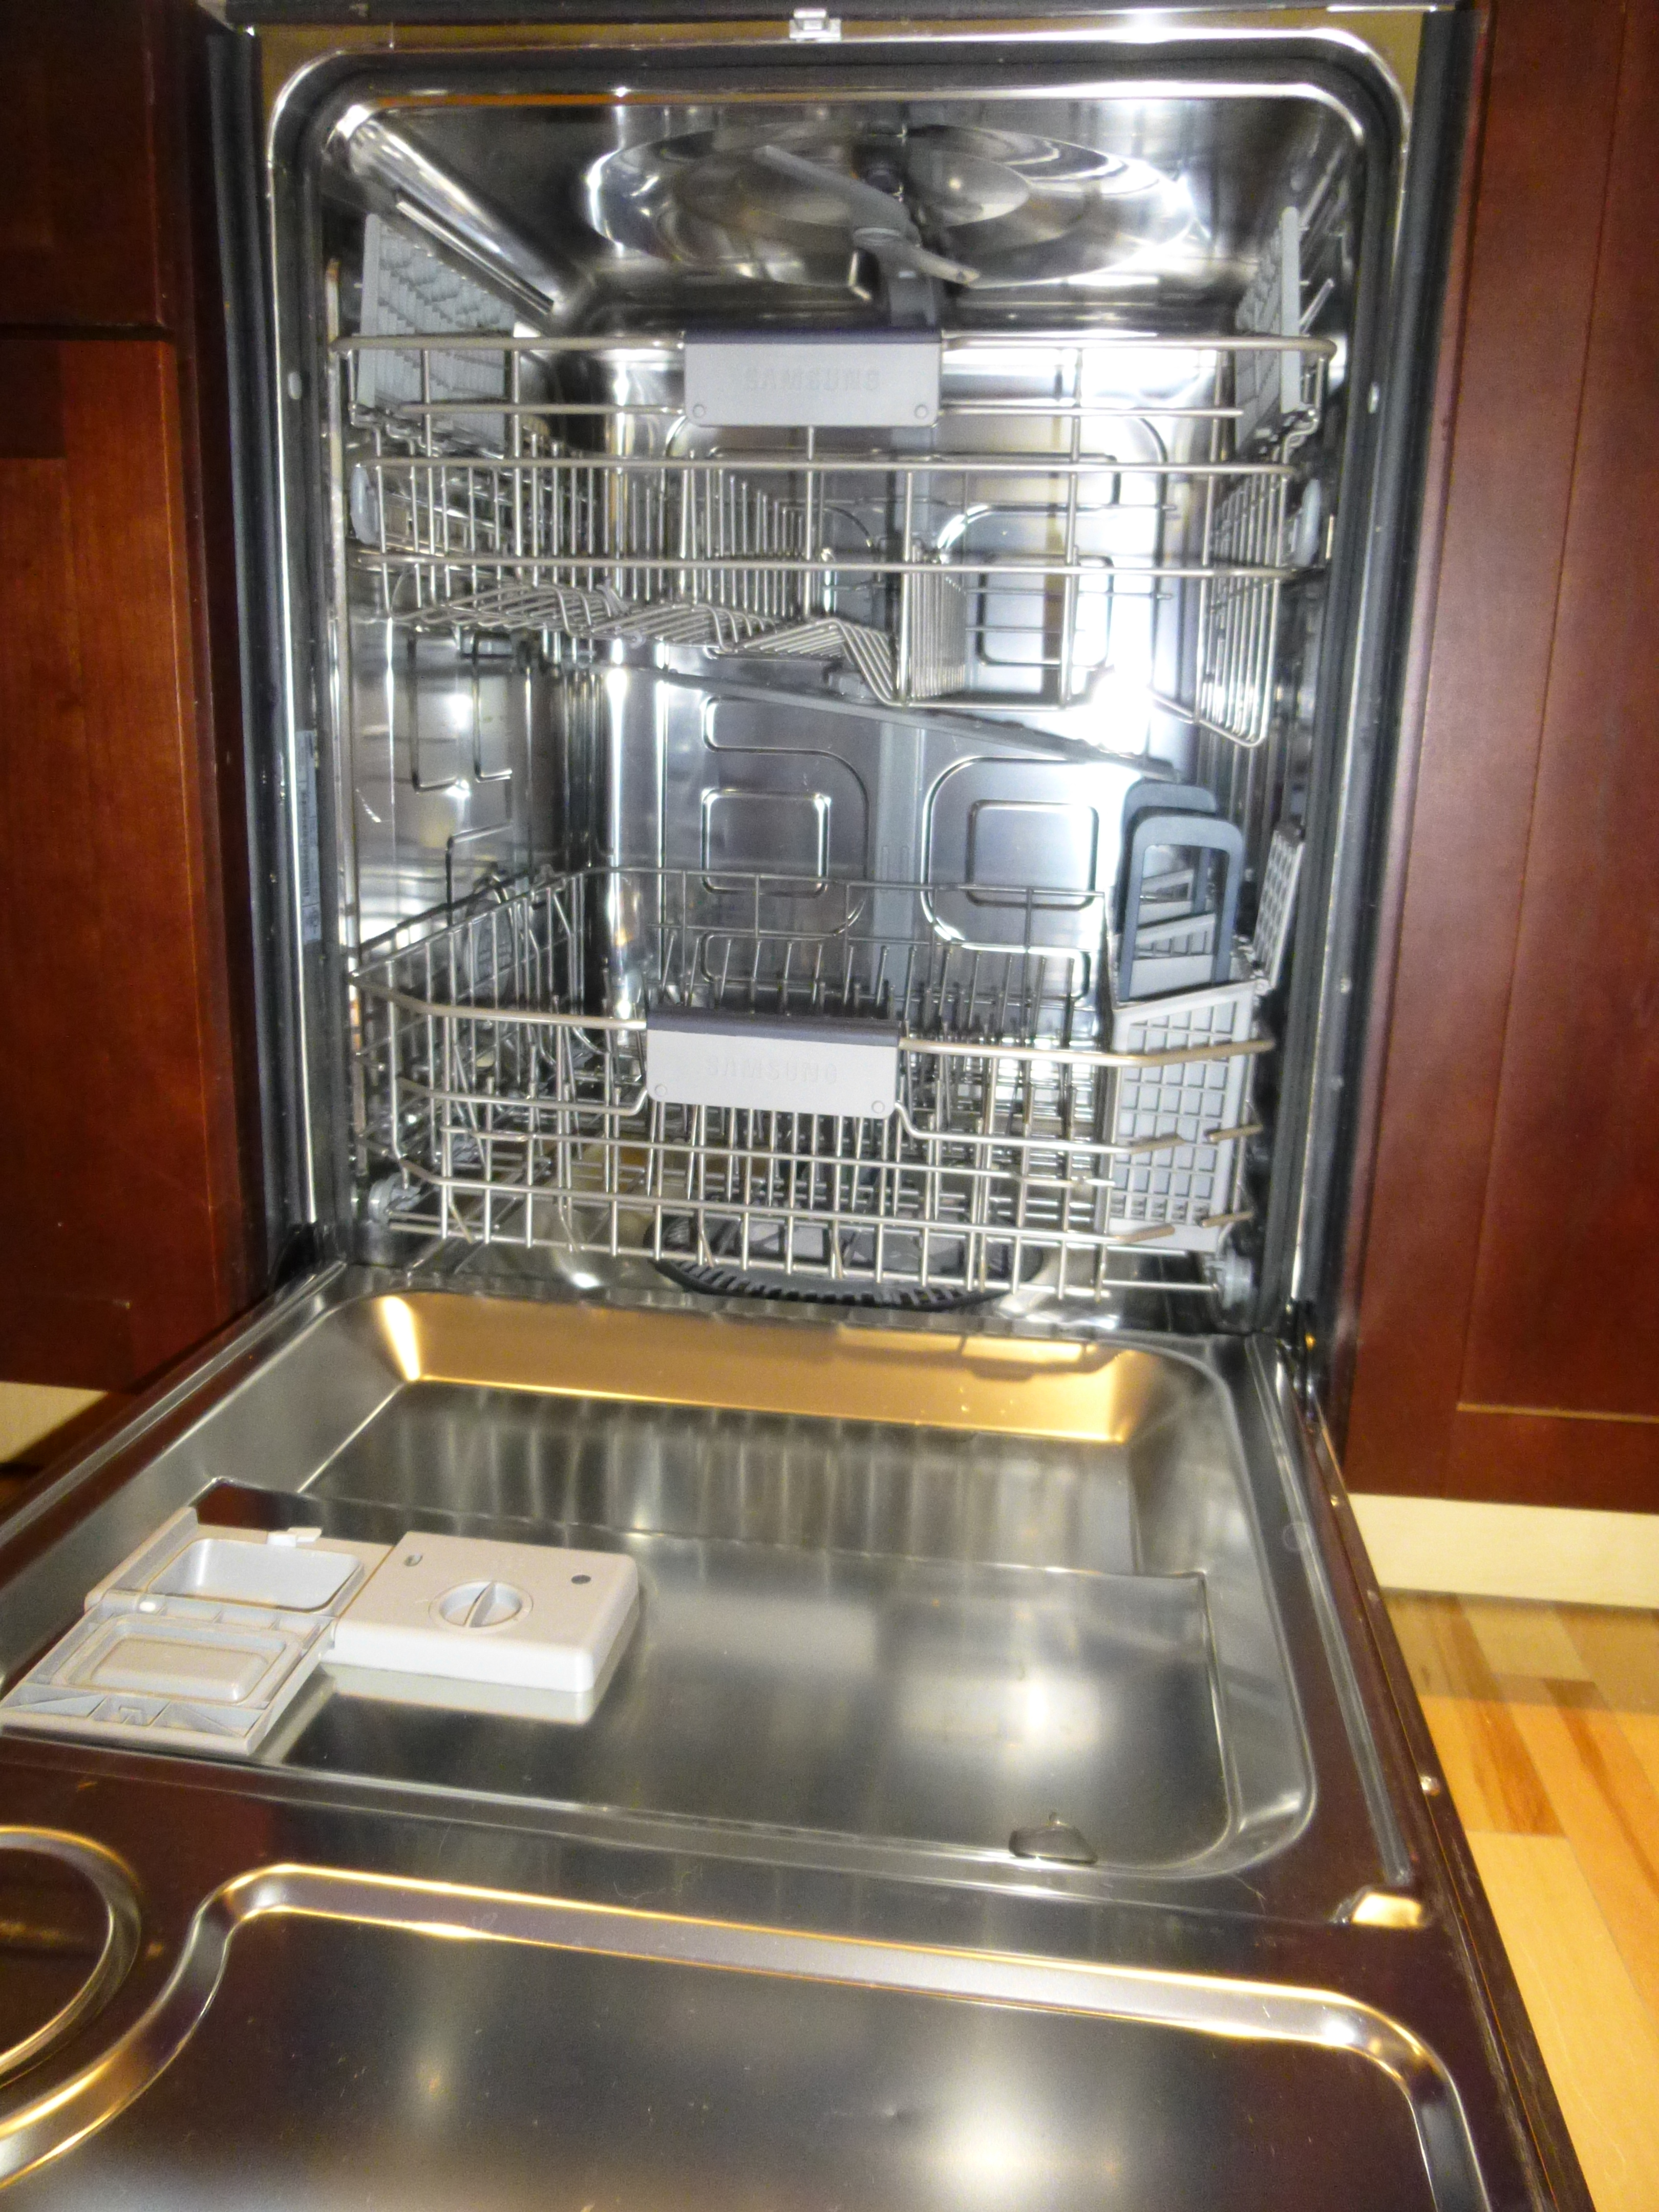
If you have a dishwasher, then you probably know it too needs to be cleaned periodically in order for it to continue to clean all your dishes the way its supposed to.  If you’re someone like me though who didn’t know that, hopefully you found this post before your dishwasher alerted you via its new stanky smell.

Once I “got wind” of the issue so to speak, I tried cleaning out the dishwasher myself with my rag and spray bottle of vinegar water and essential oils.  But, while I did find some funk, the machine still had an odor itself once it was running.

Since I had no more answers, I headed to the “answer box”; AKA the computer.  Everything I read said use bleach.  I really didn’t like that idea.  Most said use just a bit, and it’s no big deal.  But, I figured there had to be a better, more natural way to clean the dishwasher.  So I decided to try and use my tried and true natural cleaning buds, baking soda and vinegar.

Of course, they worked like a charm!  I share what I did so you too can avoid bleach and clean your dishwasher naturally.

  • Wipe down the inside, outside, nooks and crannies of the dishwasher so there’s no visible gunk or grime using vinegar water spray and a rag.
  • Put some baking soda into the soap dispenser.
  • Fill 2 small- medium sized bowls with white vinegar and tea tree oil.
  • Put a bowl of vinegar/tea tree oil water on the top rack of  the dishwasher an done on the bottom in whatever spot you have where it can sit there and have water splash it all around the machine during the cleaning cycle.
  • Set the dishwasher on a short cycle.

baking soda in soap dispenser of dishwasher for natural cleaning

bowl of white vinegar and essential oils to clean a dishwasher naturallyOnce the dishwasher completes the cycle, the smells should be gone.  Depending on the machine though and how dirty it is, it may take a second run through to really work.  Do this regularly (monthly would be good) to keep the odors at bay naturally too and you can easily keep your dishwasher spic and span without using any harsh, chemical ingredients.